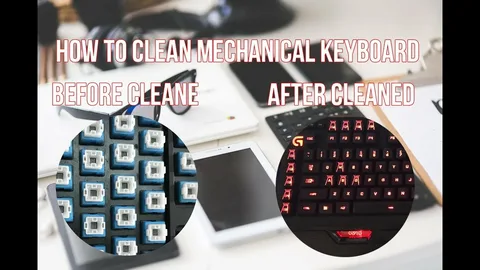
How to Clean Mechanical Keyboard
Mechanical keyboards have become a staple for gamers, PC enthusiasts, and productivity-focused users worldwide. Renowned for their tactile switches, programmable keys, RGB customization, and ergonomic designs, they provide an unmatched typing and gaming experience. However, daily use can lead to dust, crumbs, and debris accumulating between the keys, which can affect performance, hygiene, and the overall feel of your keyboard. Regular cleaning not only enhances your gaming and typing experience but also extends the lifespan of your keyboard.
We’ll walk you through the safest and most effective ways to clean a mechanical keyboard, whether you want a quick surface clean or a deep disassembly.
Why Cleaning Your Mechanical Keyboard Matters
Mechanical keyboards are built to last, but even the most durable models require regular maintenance. Over time, dirt and dust can:
- Reduce key responsiveness, making typing or gaming less accurate.
- Affect the smooth tactile feel of switches.
- Interfere with RGB lighting or programmable keys.
- Accumulate allergens or bacteria, impacting hygiene.
By keeping your mechanical keyboard clean, you maintain its performance, extend durability, and ensure a more comfortable experience during long sessions.
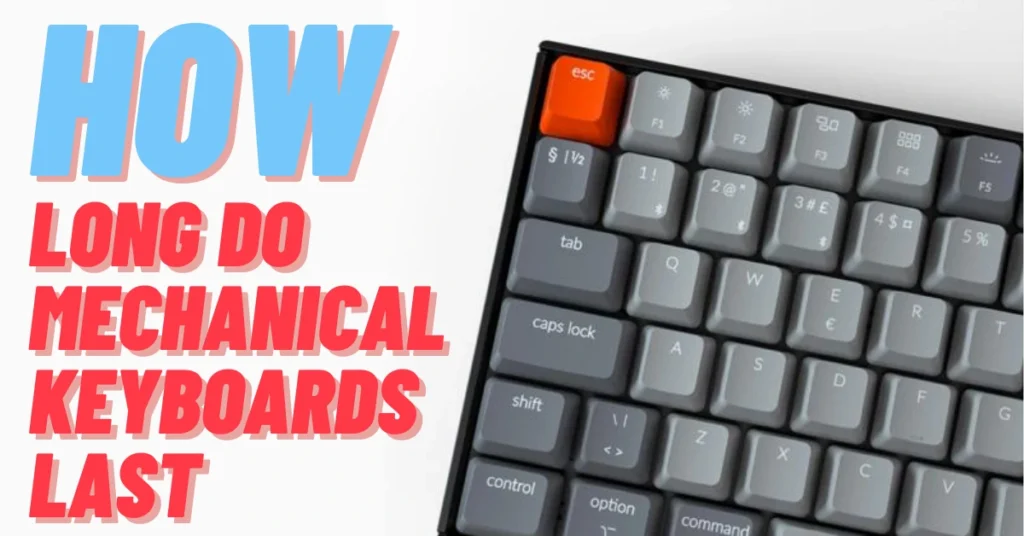
Related read: How long does a mechanical keyboard last
Tools You’ll Need
Before cleaning, gather a few simple tools to make the process safe and efficient:
- Keycap puller: For safely removing keys without damaging switches.
- Compressed air: To blow out dust from hard-to-reach areas.
- Soft brush or small paintbrush: To clean between keys gently.
- Microfiber cloth: For wiping surfaces.
- Isopropyl alcohol (70–90%): For disinfecting and cleaning surfaces without damaging electronics.
- Bowl or container: To soak removable keycaps.
Having the right tools ensures a thorough clean while preventing damage to your keyboard.
Step-by-Step Guide to Cleaning Your Mechanical Keyboard
Step 1: Unplug and Prepare
Always disconnect your keyboard from the PC before cleaning to avoid short circuits or accidental keypresses. If it’s wireless, remove the batteries. Clear your workspace and gather all tools, preferably on a flat surface with good lighting.
Step 2: Quick Surface Cleaning
For light maintenance or between deep cleans:
- Turn the keyboard upside down and gently shake it to remove loose debris.
- Use compressed air to blow out dust and crumbs from between keys.
- Brush around keycaps using a soft brush to dislodge stubborn dirt.
- Wipe the surface with a microfiber cloth slightly dampened with isopropyl alcohol.
This routine keeps your keyboard hygienic and preserves the feel of switches without full disassembly.
Step 3: Remove Keycaps for Deep Cleaning
For a thorough clean, removing keycaps is essential:
- Use a keycap puller to carefully lift each keycap.
- Place keycaps in a bowl of warm soapy water and let them soak for 30–60 minutes.
- Rinse and dry keycaps completely before reassembling to avoid moisture damage.
Removing keycaps exposes the switches and PCB, allowing deeper cleaning and ensuring dust doesn’t interfere with performance.
Step 4: Clean Between Switches
Once the keycaps are removed:
- Use compressed air to blow dust away from switches and the PCB.
- Soft brush can remove particles trapped under stabilizers and between switches.
- Isopropyl alcohol on a cotton swab or microfiber cloth can disinfect and clean stubborn dirt on the surface and stabilizers.
Avoid pouring liquid directly onto switches or the PCB, as it can damage electronics.
Step 5: Reassemble and Test
After deep cleaning:
- Ensure keycaps are completely dry before reattaching.
- Press each key firmly onto its switch until it clicks into place.
- Reconnect the keyboard and test all keys to confirm functionality.
- Adjust lighting, macros, or software profiles if needed.
A clean keyboard, especially gaming keyboards, should feel crisp, responsive, and comfortable to use.
Tips for Maintaining a Clean Mechanical Keyboard
- Regular Surface Cleaning: Quick weekly dusting prevents buildup.
- Avoid Eating Over Keyboard: Crumbs and spills are common causes of grime.
- Use a Keyboard Cover: Protects against dust while maintaining typing feel.
- Deep Clean Periodically: Every 2–3 months for heavy users ensures longevity and optimal performance.
- Check Stabilizers and Switches: Lubricate or replace worn stabilizers for smooth keystrokes.
For an RGB Gaming Keyboard, these habits help maintain hygiene while preserving its tactile feel, responsiveness, and RGB lighting.
Advanced Cleaning Techniques
For enthusiasts who want to go further:
- Lubricating Switches: Reduces scratchiness and enhances smooth keypresses.
- Modifying Stabilizers: Minimizes rattle on larger keys like spacebar or shift.
- Custom Keycaps: Beyond aesthetics, some keycaps improve comfort and typing accuracy.
- PCB Cleaning: Advanced users can remove and clean the PCB to prevent corrosion from spilled liquids or prolonged dust accumulation.
These enhancements improve typing comfort, gaming performance, and durability over time.
Mechanical Keyboard Features That Benefit From Cleaning
- Tactile Switches: Regular cleaning keeps the bump and actuation smooth.
- Programmable Keys: Maintains consistent key response for macros.
- RGB Lighting: Dust-free surfaces allow light to shine brightly and evenly.
- Ergonomic Design: Keeps wrist and hand comfort consistent during long sessions.
A well-maintained keyboard ensures that both functionality and aesthetic appeal are preserved, complementing any gaming or productivity setup.
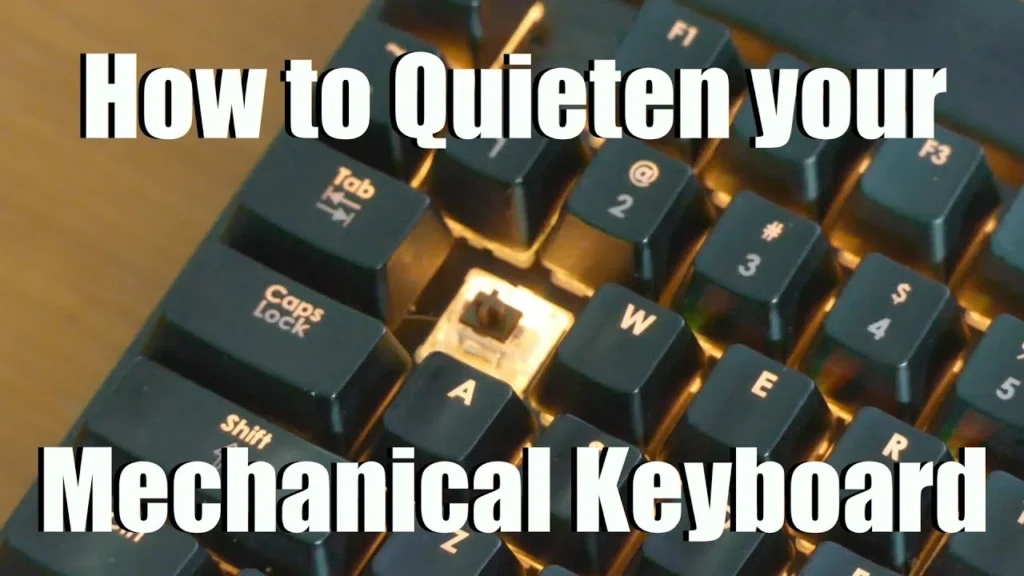
Related read: How to make a mechanical keyboard quieter
Common Cleaning Mistakes to Avoid
- Using Excessive Liquid: Never pour water or alcohol directly onto switches or PCB.
- Forcing Keycaps: Pulling or pushing too hard can damage stems.
- Neglecting Drying Time: Moist keycaps can cause short circuits.
- Skipping Shaking or Air Cleaning: Some debris may not be visible but can affect performance.
- Ignoring Stabilizers: Dirt under stabilizers can lead to inconsistent key feel.
Following proper methods ensures safety, functionality, and longevity.
Frequently Asked Questions (FAQs)
Can I use a vacuum to clean my mechanical keyboard?
It’s not recommended, as the suction can damage switches or remove small components. Compressed air or soft brushes are safer.
How often should I deep clean my mechanical keyboard?
Every 2–3 months for heavy users; otherwise, a surface clean every few weeks suffices.
Does cleaning improve typing performance?
Yes, removing dust and debris enhances switch response, tactile feedback, and overall comfort.
Are all mechanical keyboards safe to clean with isopropyl alcohol?
Yes, 70–90% isopropyl alcohol is generally safe for cleaning surfaces, stabilizers, and switches, but avoid the PCB.
Why does my mechanical keyboard feel scratchy after some time?
Dust and debris accumulation can make switches feel scratchy. Regular cleaning and optional lubrication prevent this issue.